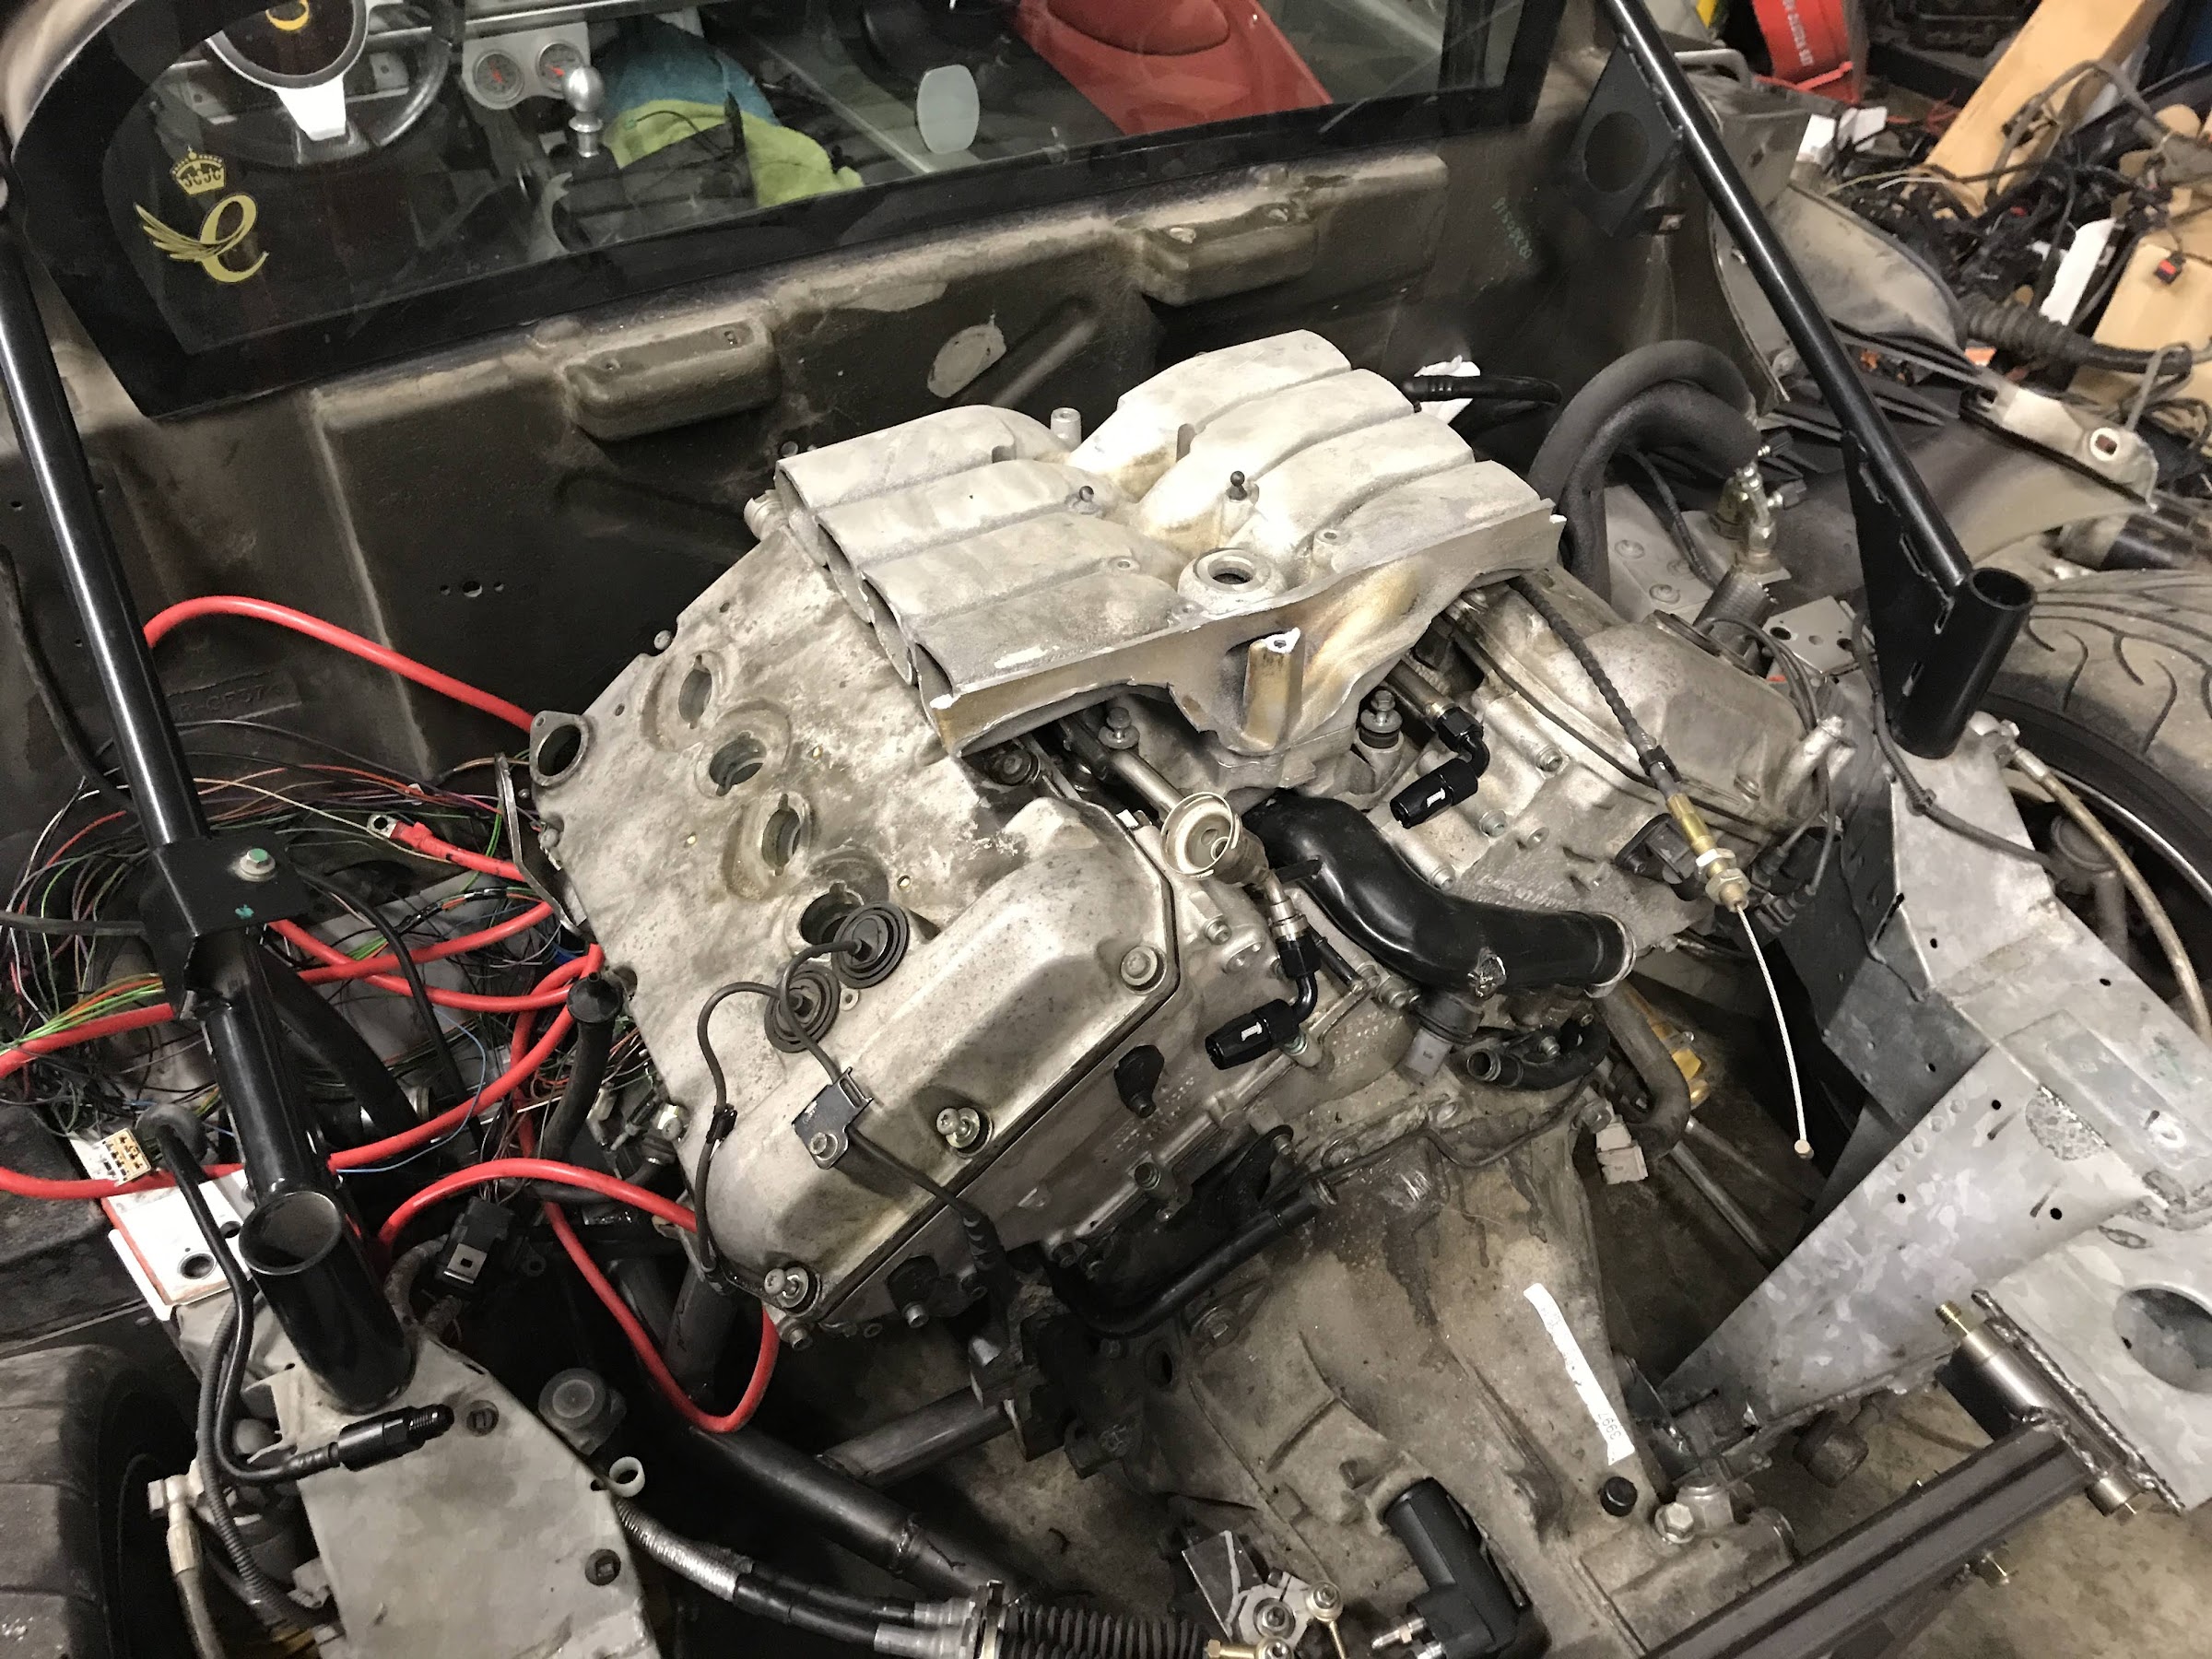
The motor fit in the bay without problem, but we were having issues with the intake manifold fitting under the factory decklid. With a quick trip to the band saw the factory manifold was a little smaller and the trunk was fitting:
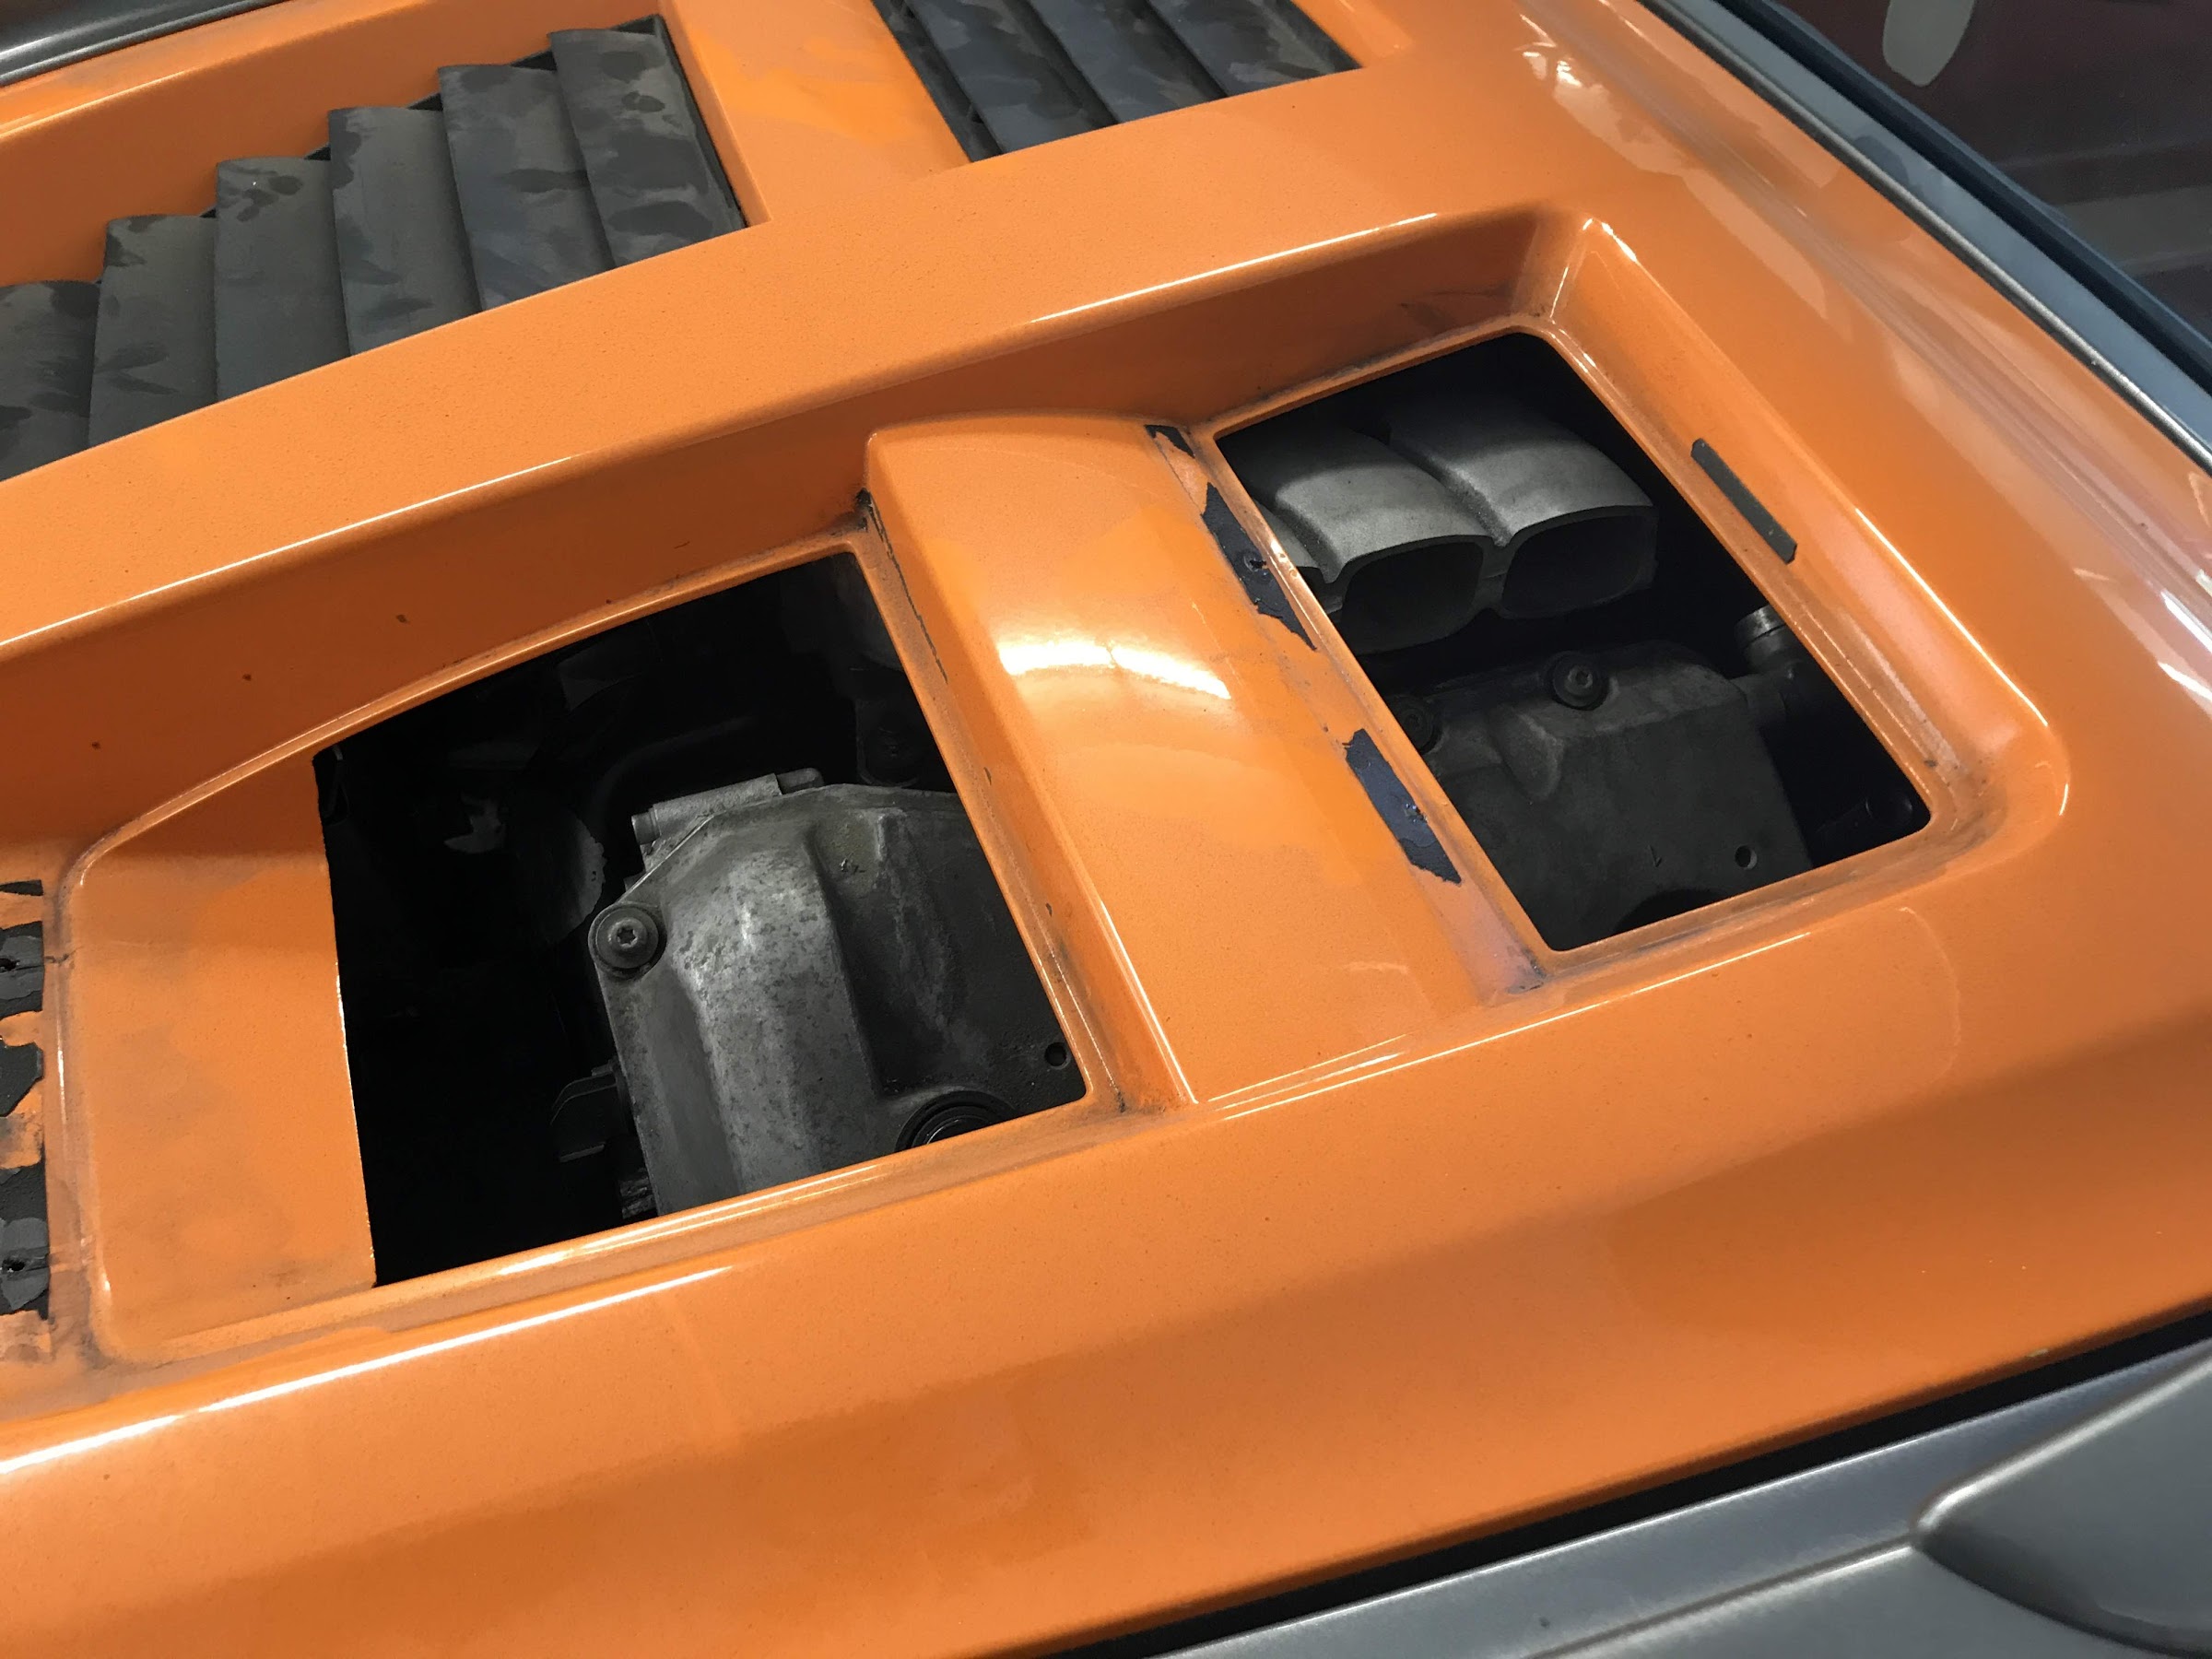
You can see the intake just under the fiberglass:
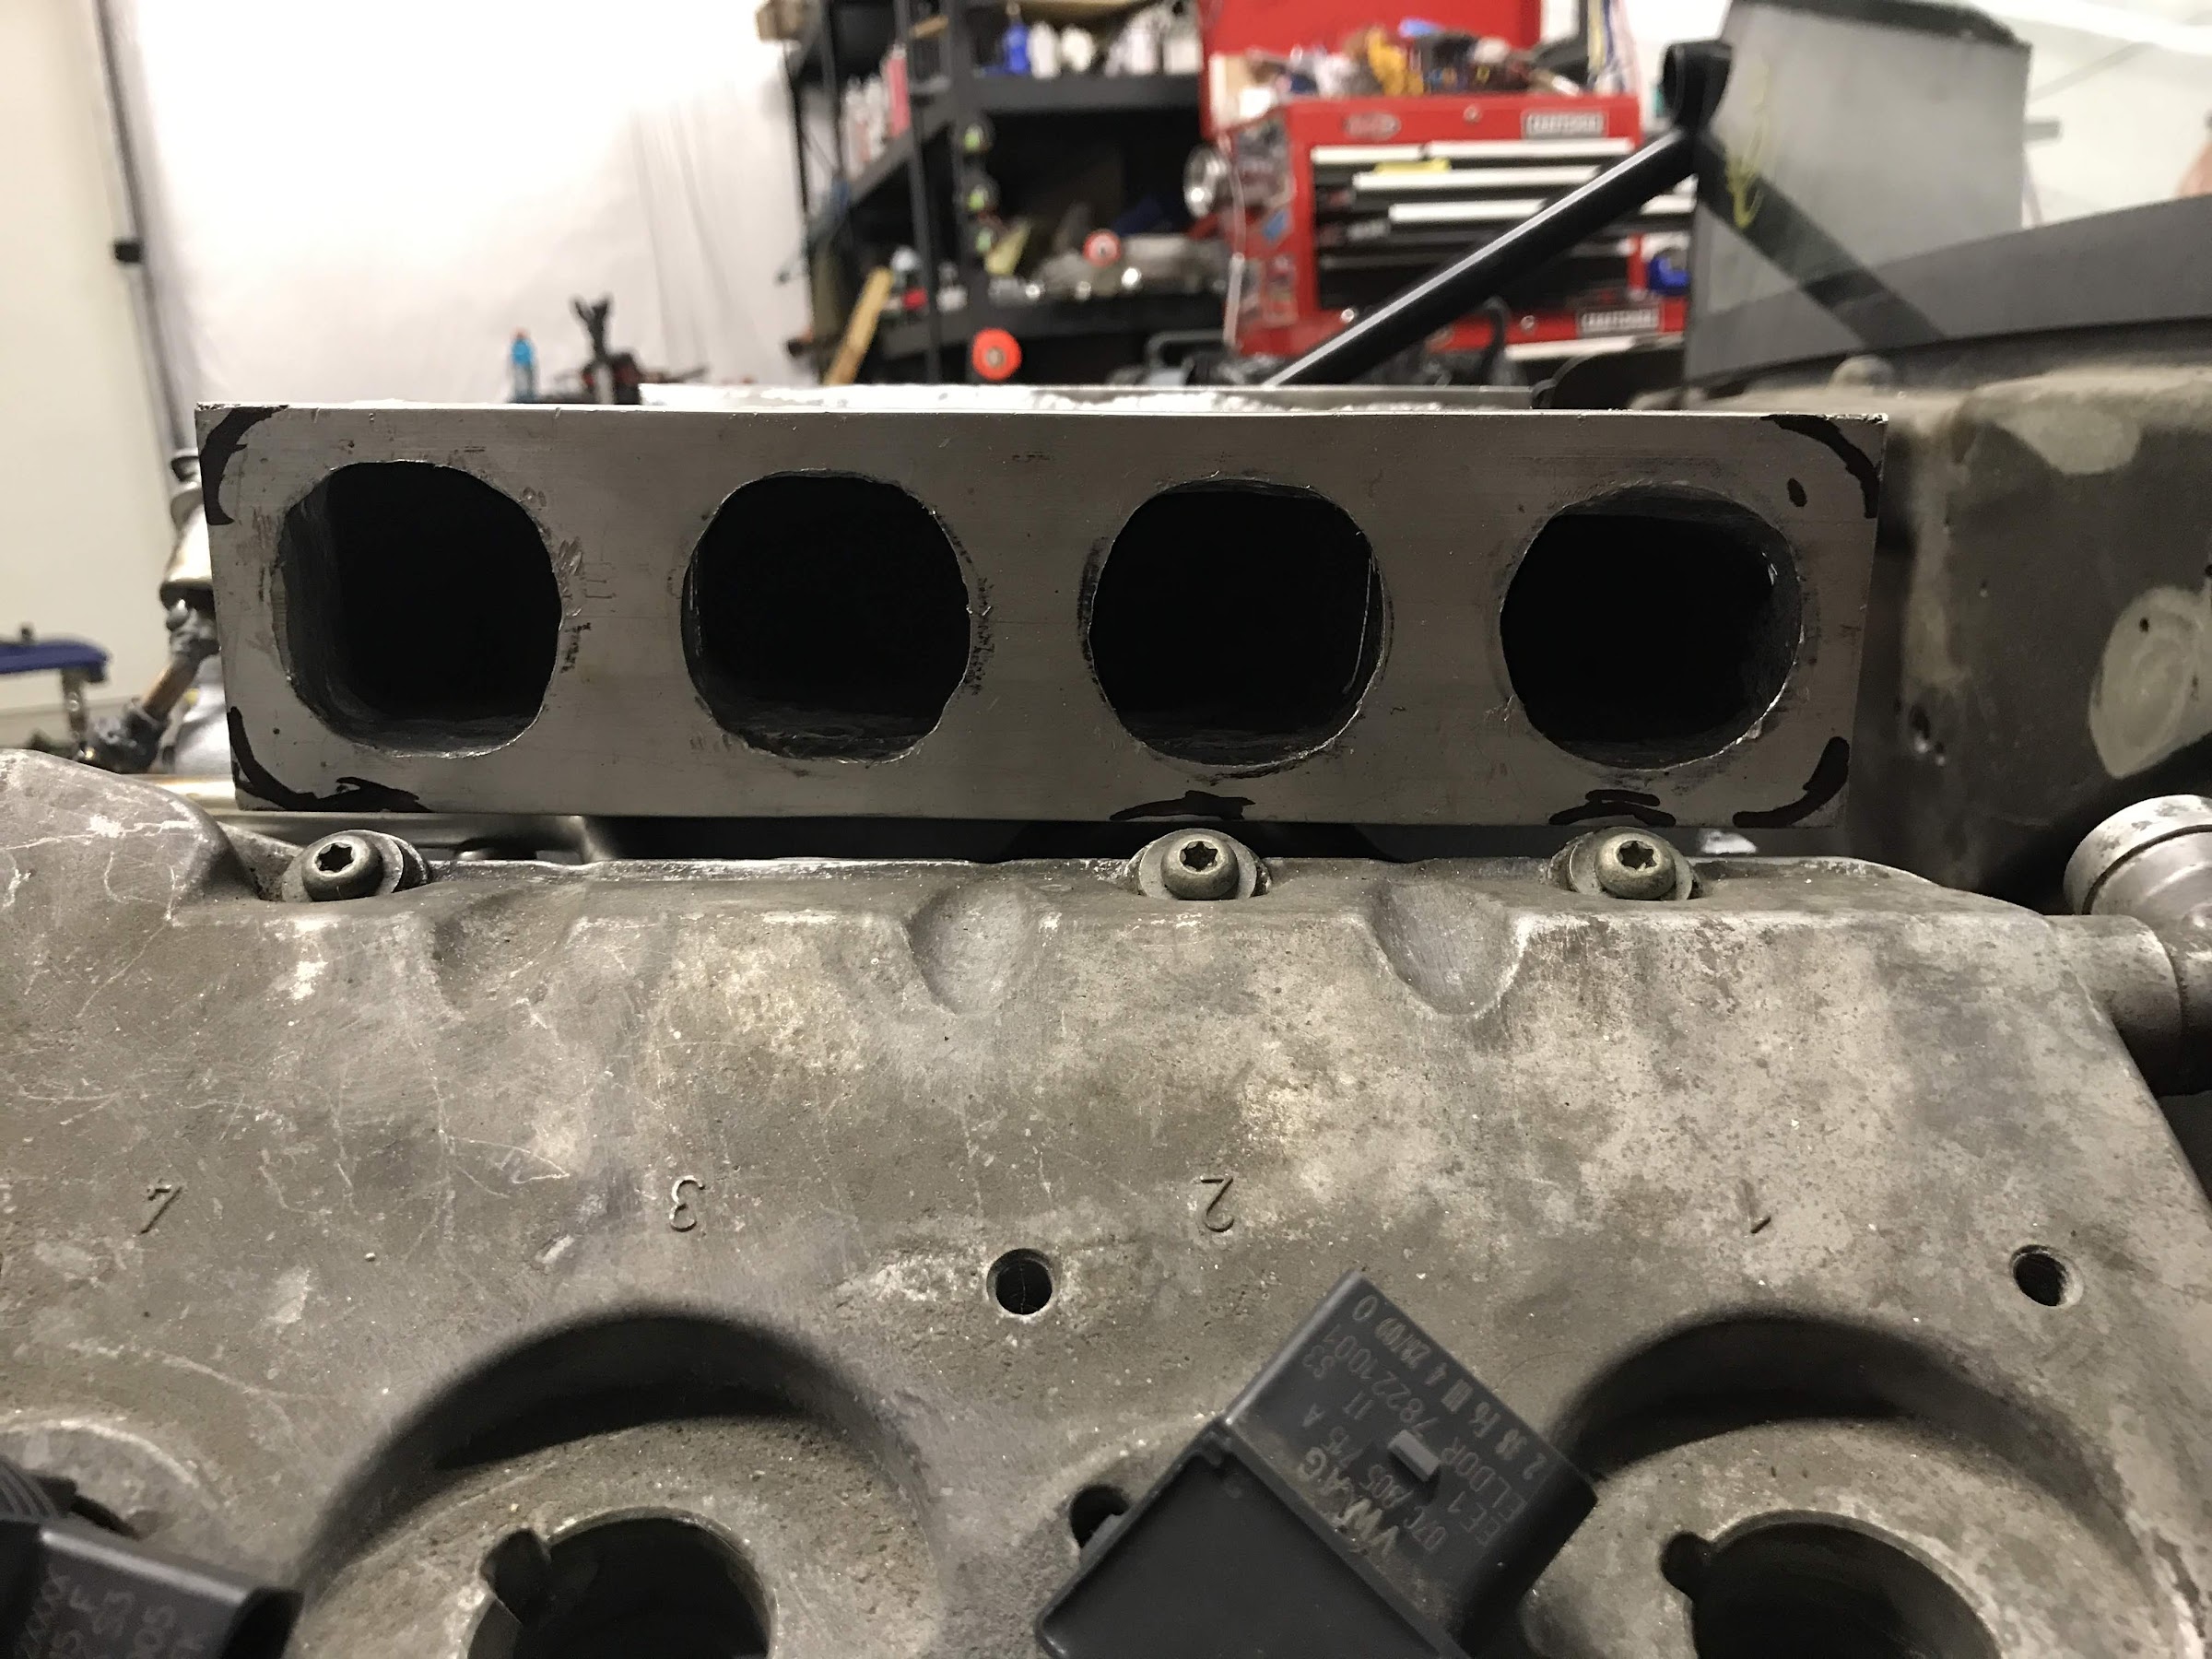
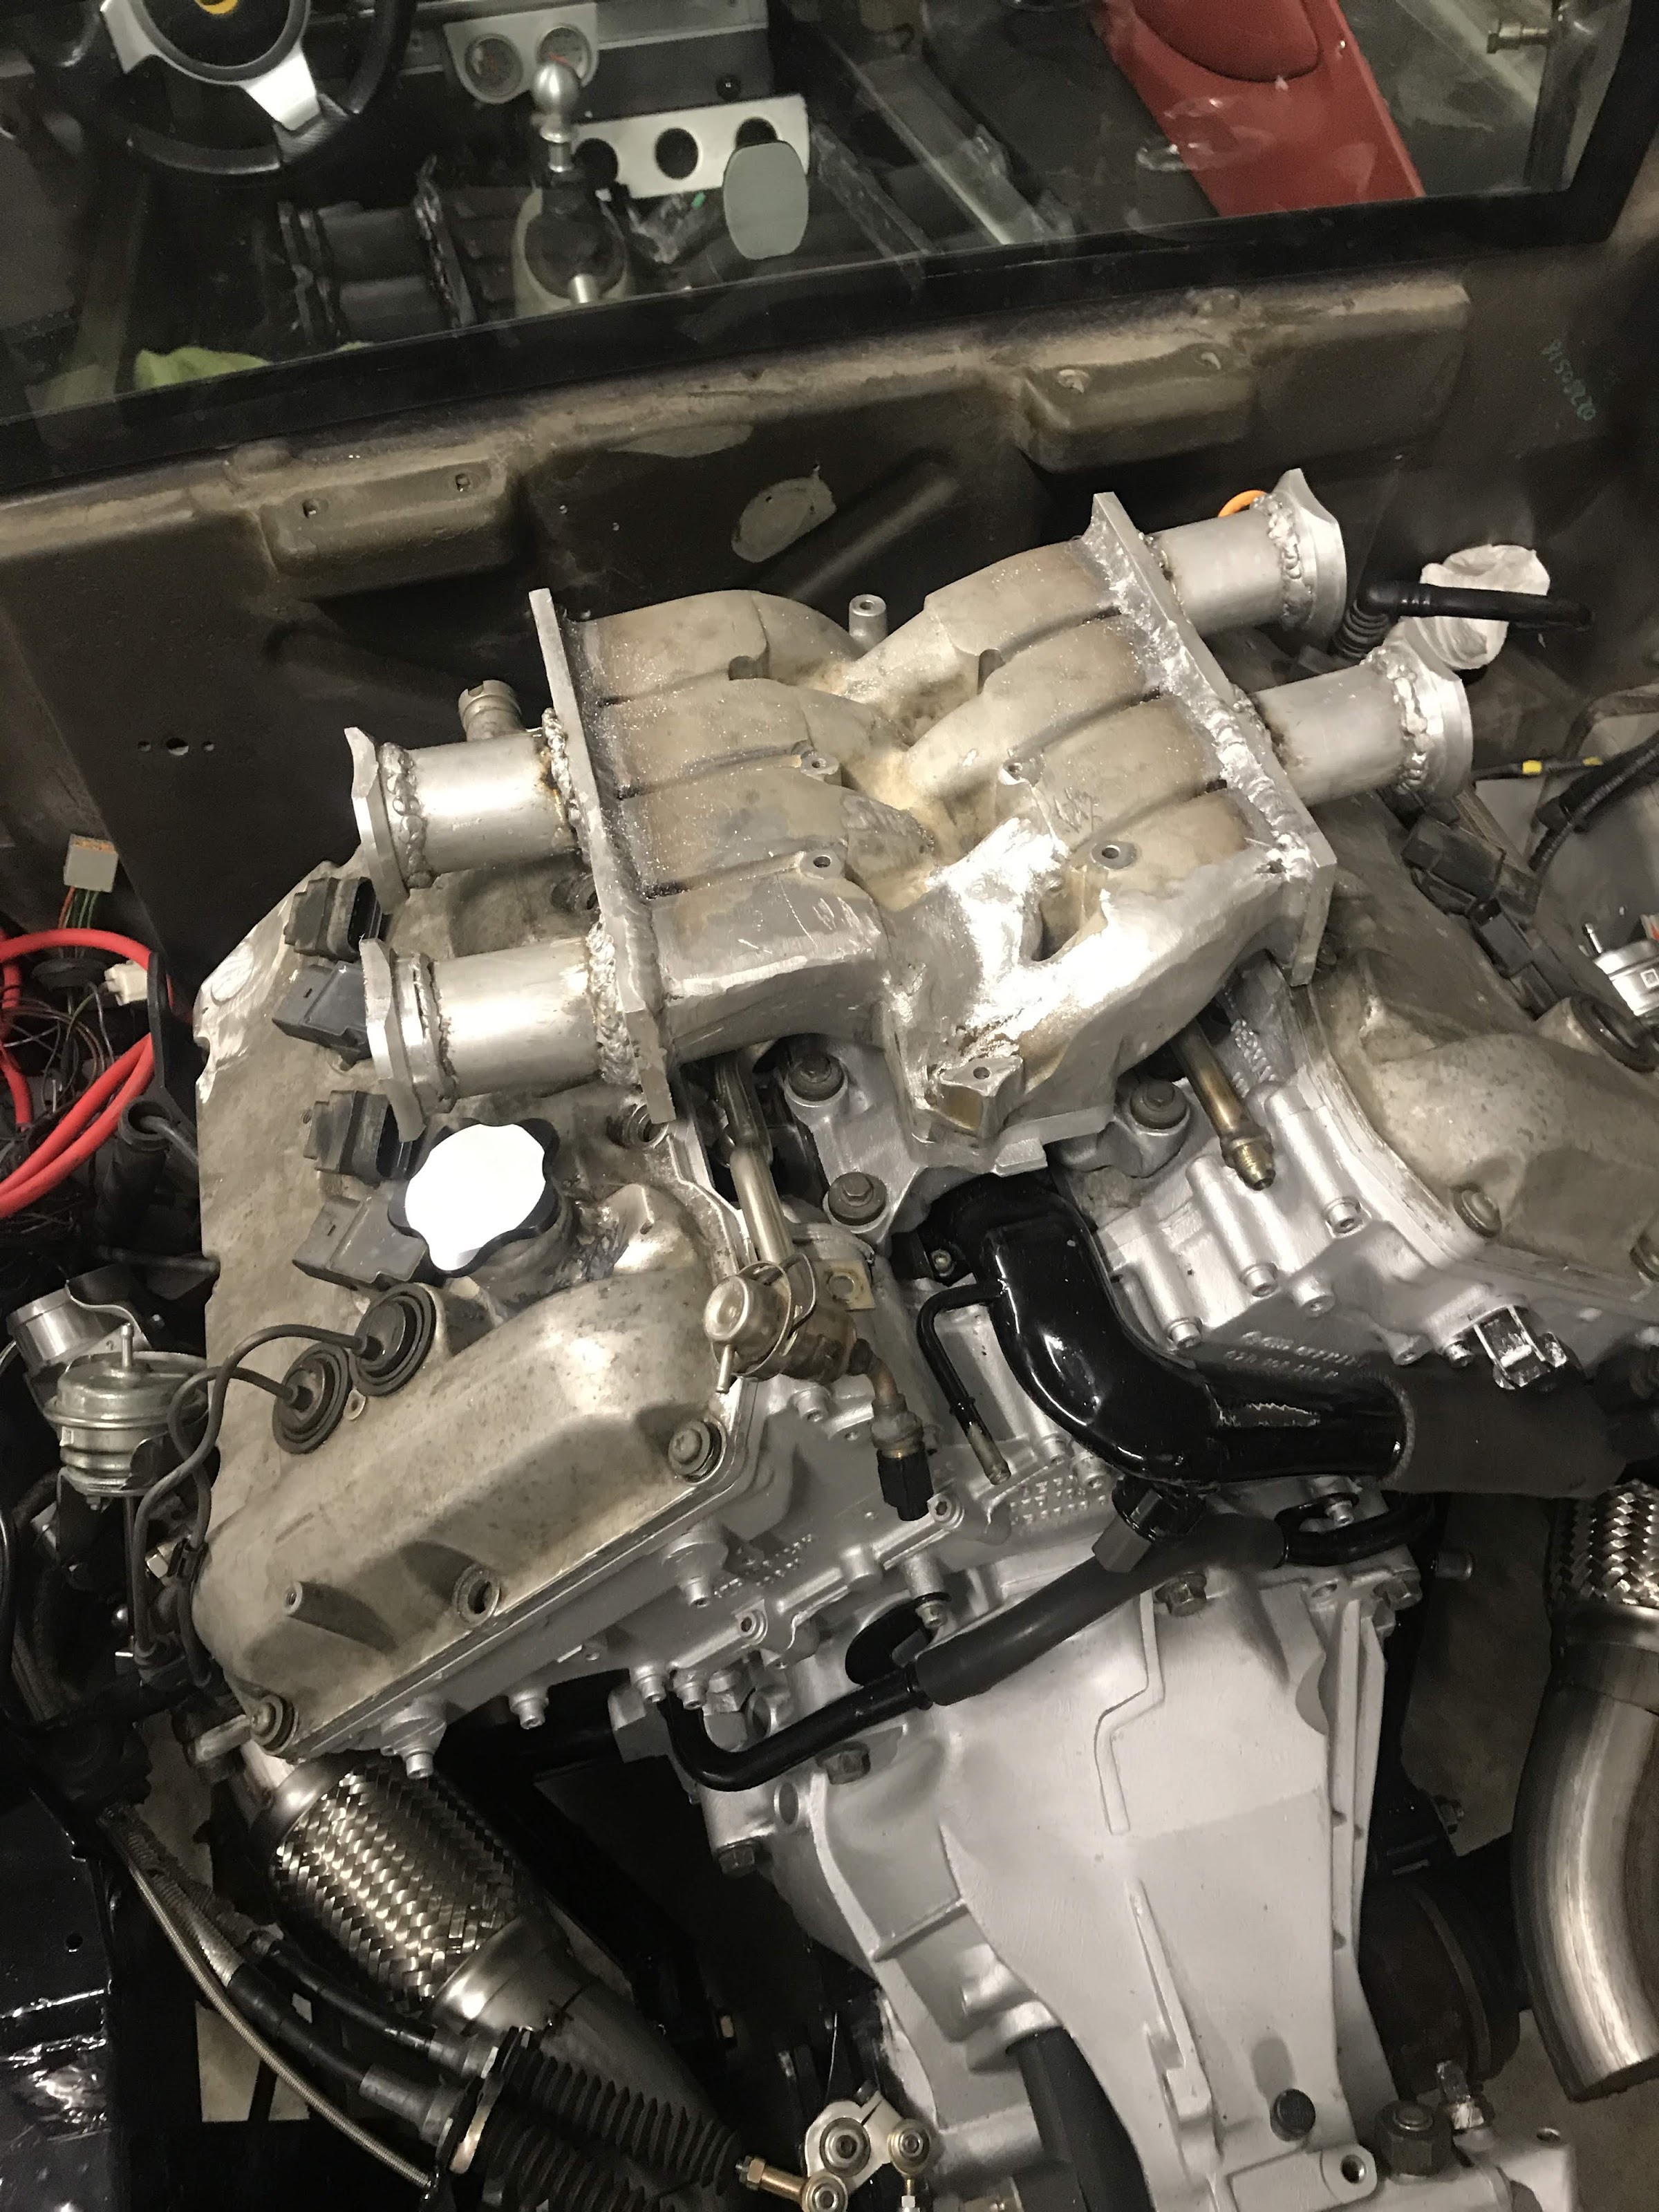
The next hurtle we wanted to work around was one of the things that makes the narrow angle cylinder bank engines make such iconic sounds, intake runner length. The VR6 known for its Wookie sounds works around a intake runner length resonance that gives it the iconic sound, with runners pushing 36" in length when you rev the motor past 3000 rpms you can hear it growl. Well the W8's runners push past the 40" mark and as expected it harmonizes a few rpms sooner and howls like its little brother. As the last picture shows we went from the 40" runners down to about 10" of runner, so we wanted to get that back up to a good "sounding" number. To start with the CNC mill came out and flanges were made to transition from the square ports to a round port and they were TIG'd on:
We talked a little about the runner length making the sound, another factor that comes into play with the narrow angle head design is that each bank of cylinder has different length ports, by around 3.625". Often times in custom intakes for the VR motors a length compensation pipe will be added to every other cylinder, much like this:
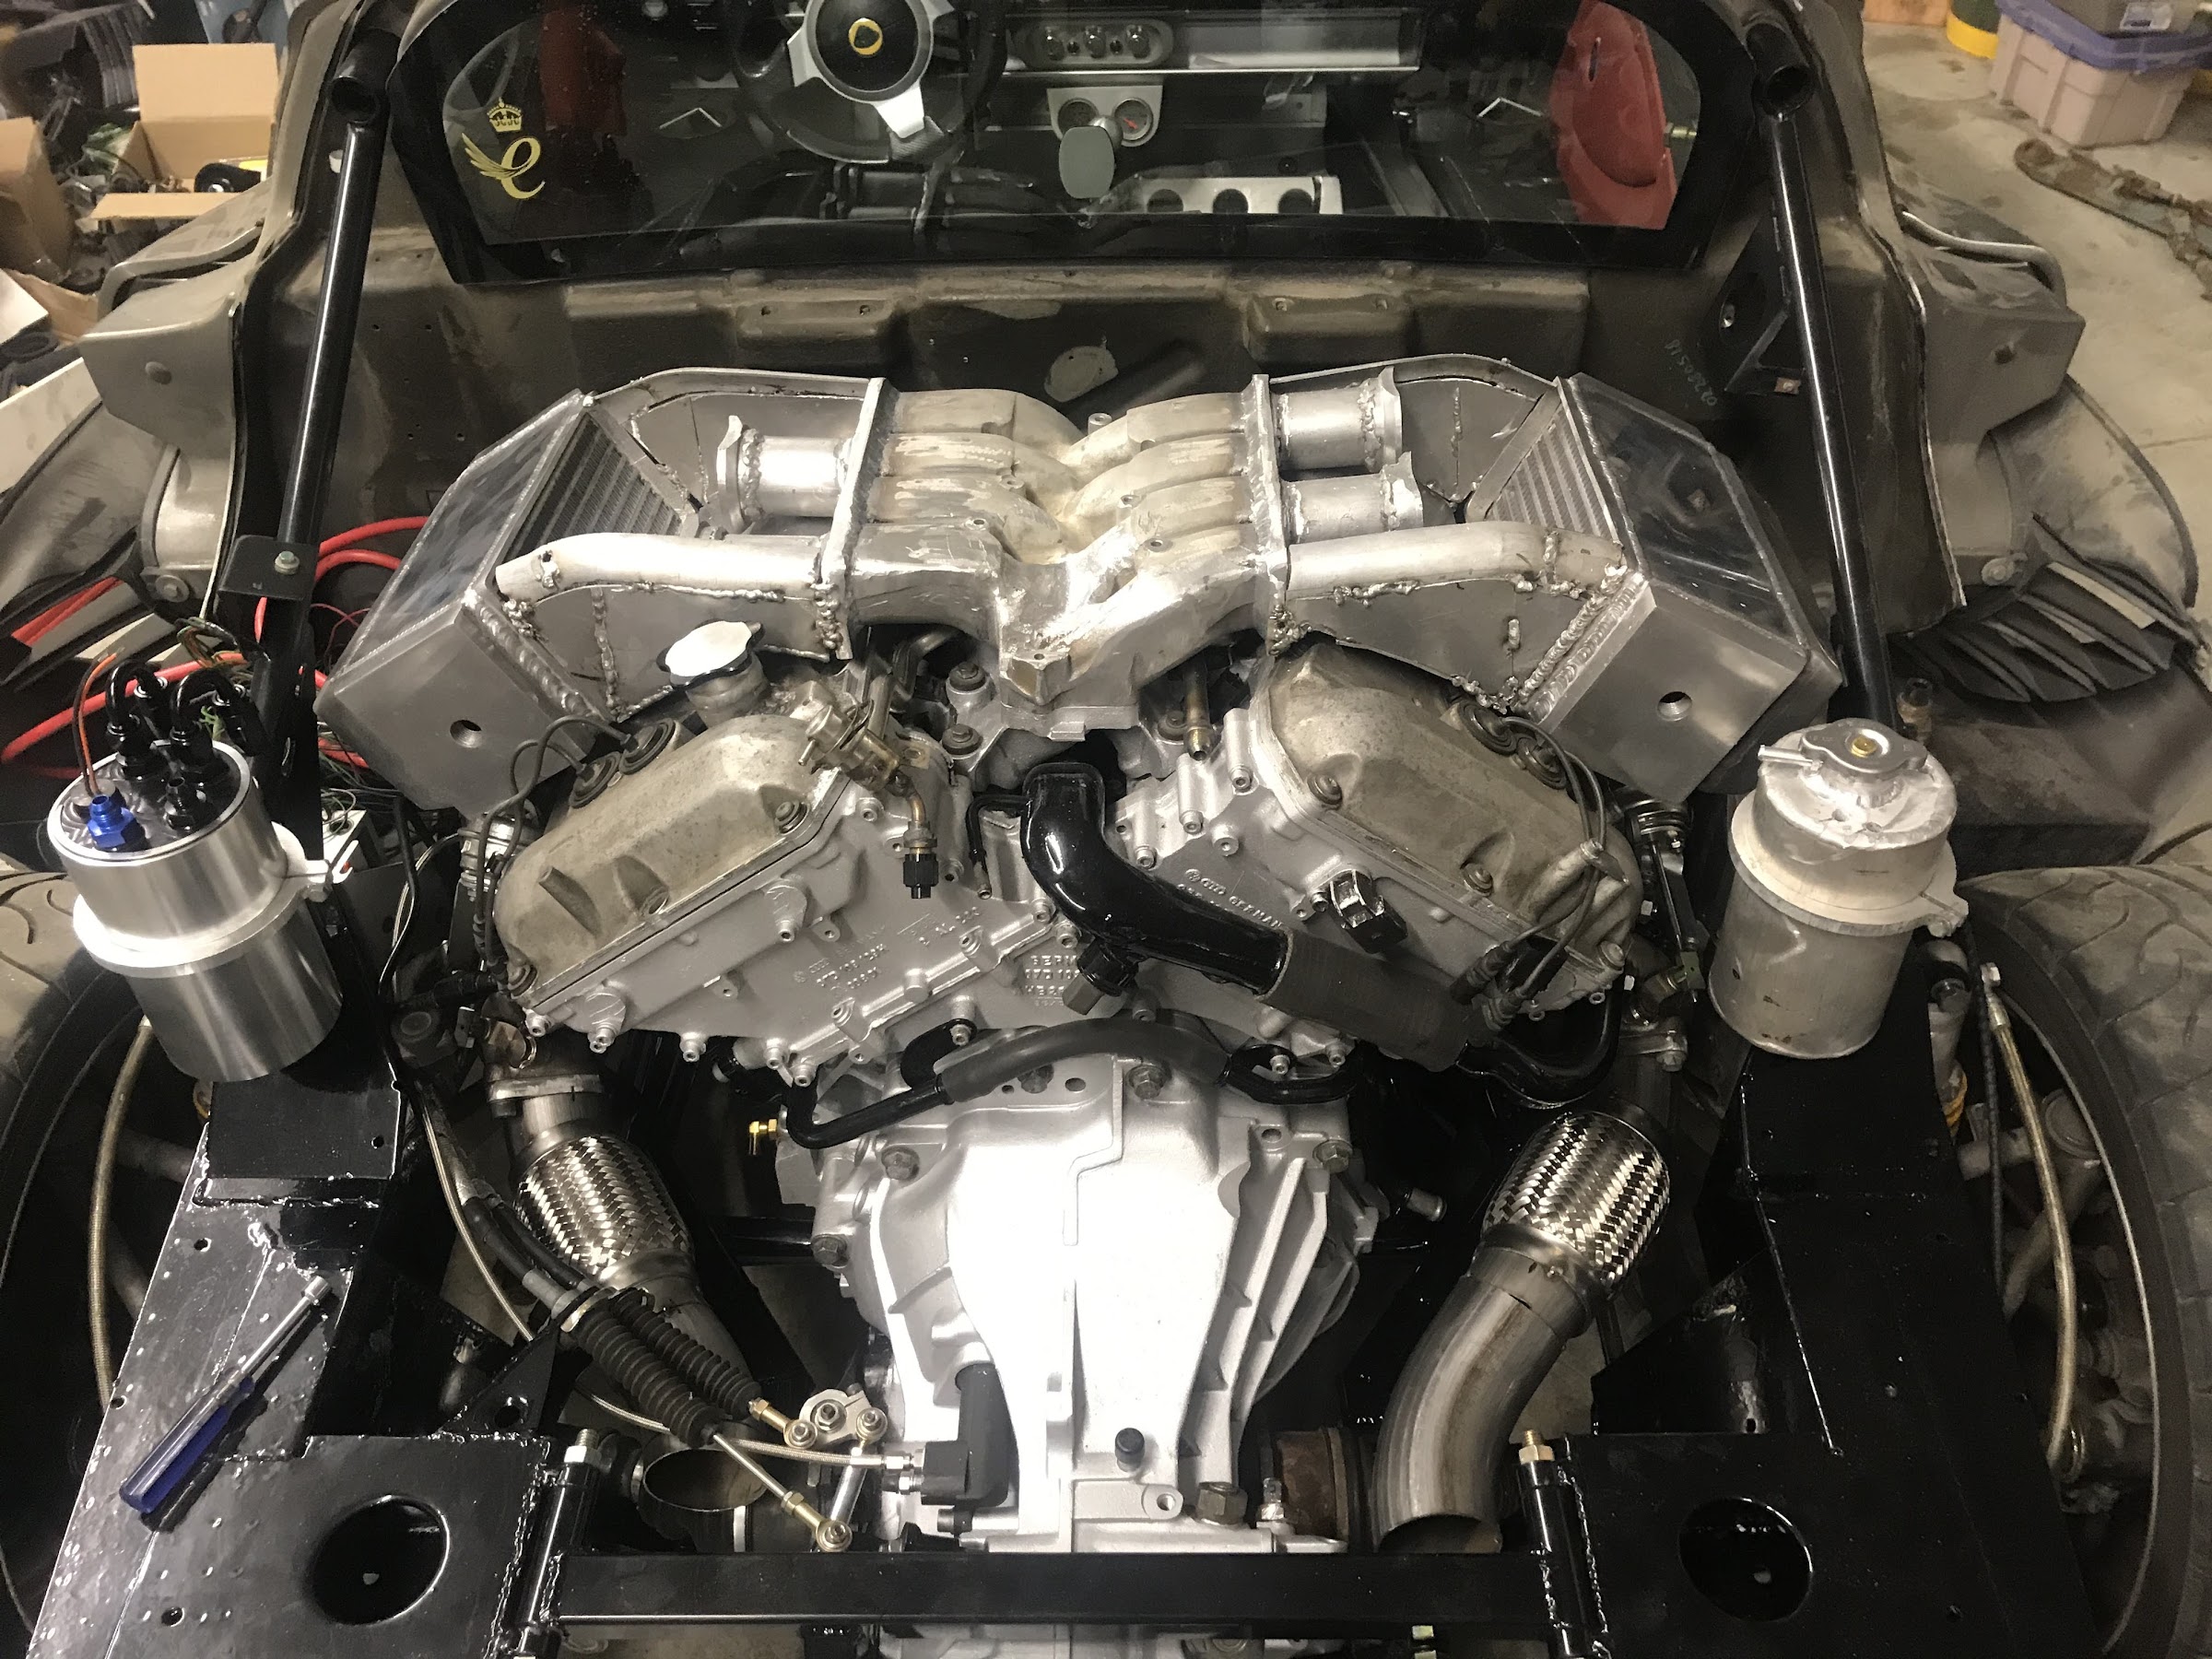
Now we plan to start around the 6psi point for boost, but are not against pushing more if the car takes it well, so for efficiency intercooling was the logical route. Like most mid engine cars intercooling isn't always the easiest to work with since the car doesn't have the same amount of air flowing in the middle as they do in the front. Logically this led us to using Air to Water over Air to Air intercooling, allowing us to have a heat exchanger in the front where there is the most efficiency. With our goal of close to stock runner lengths and the room we had to work with in the engine bay dual A2W intercoolers were fitting into the intake manifold:

Test fit to the engine bay things were starting to take a final shape:
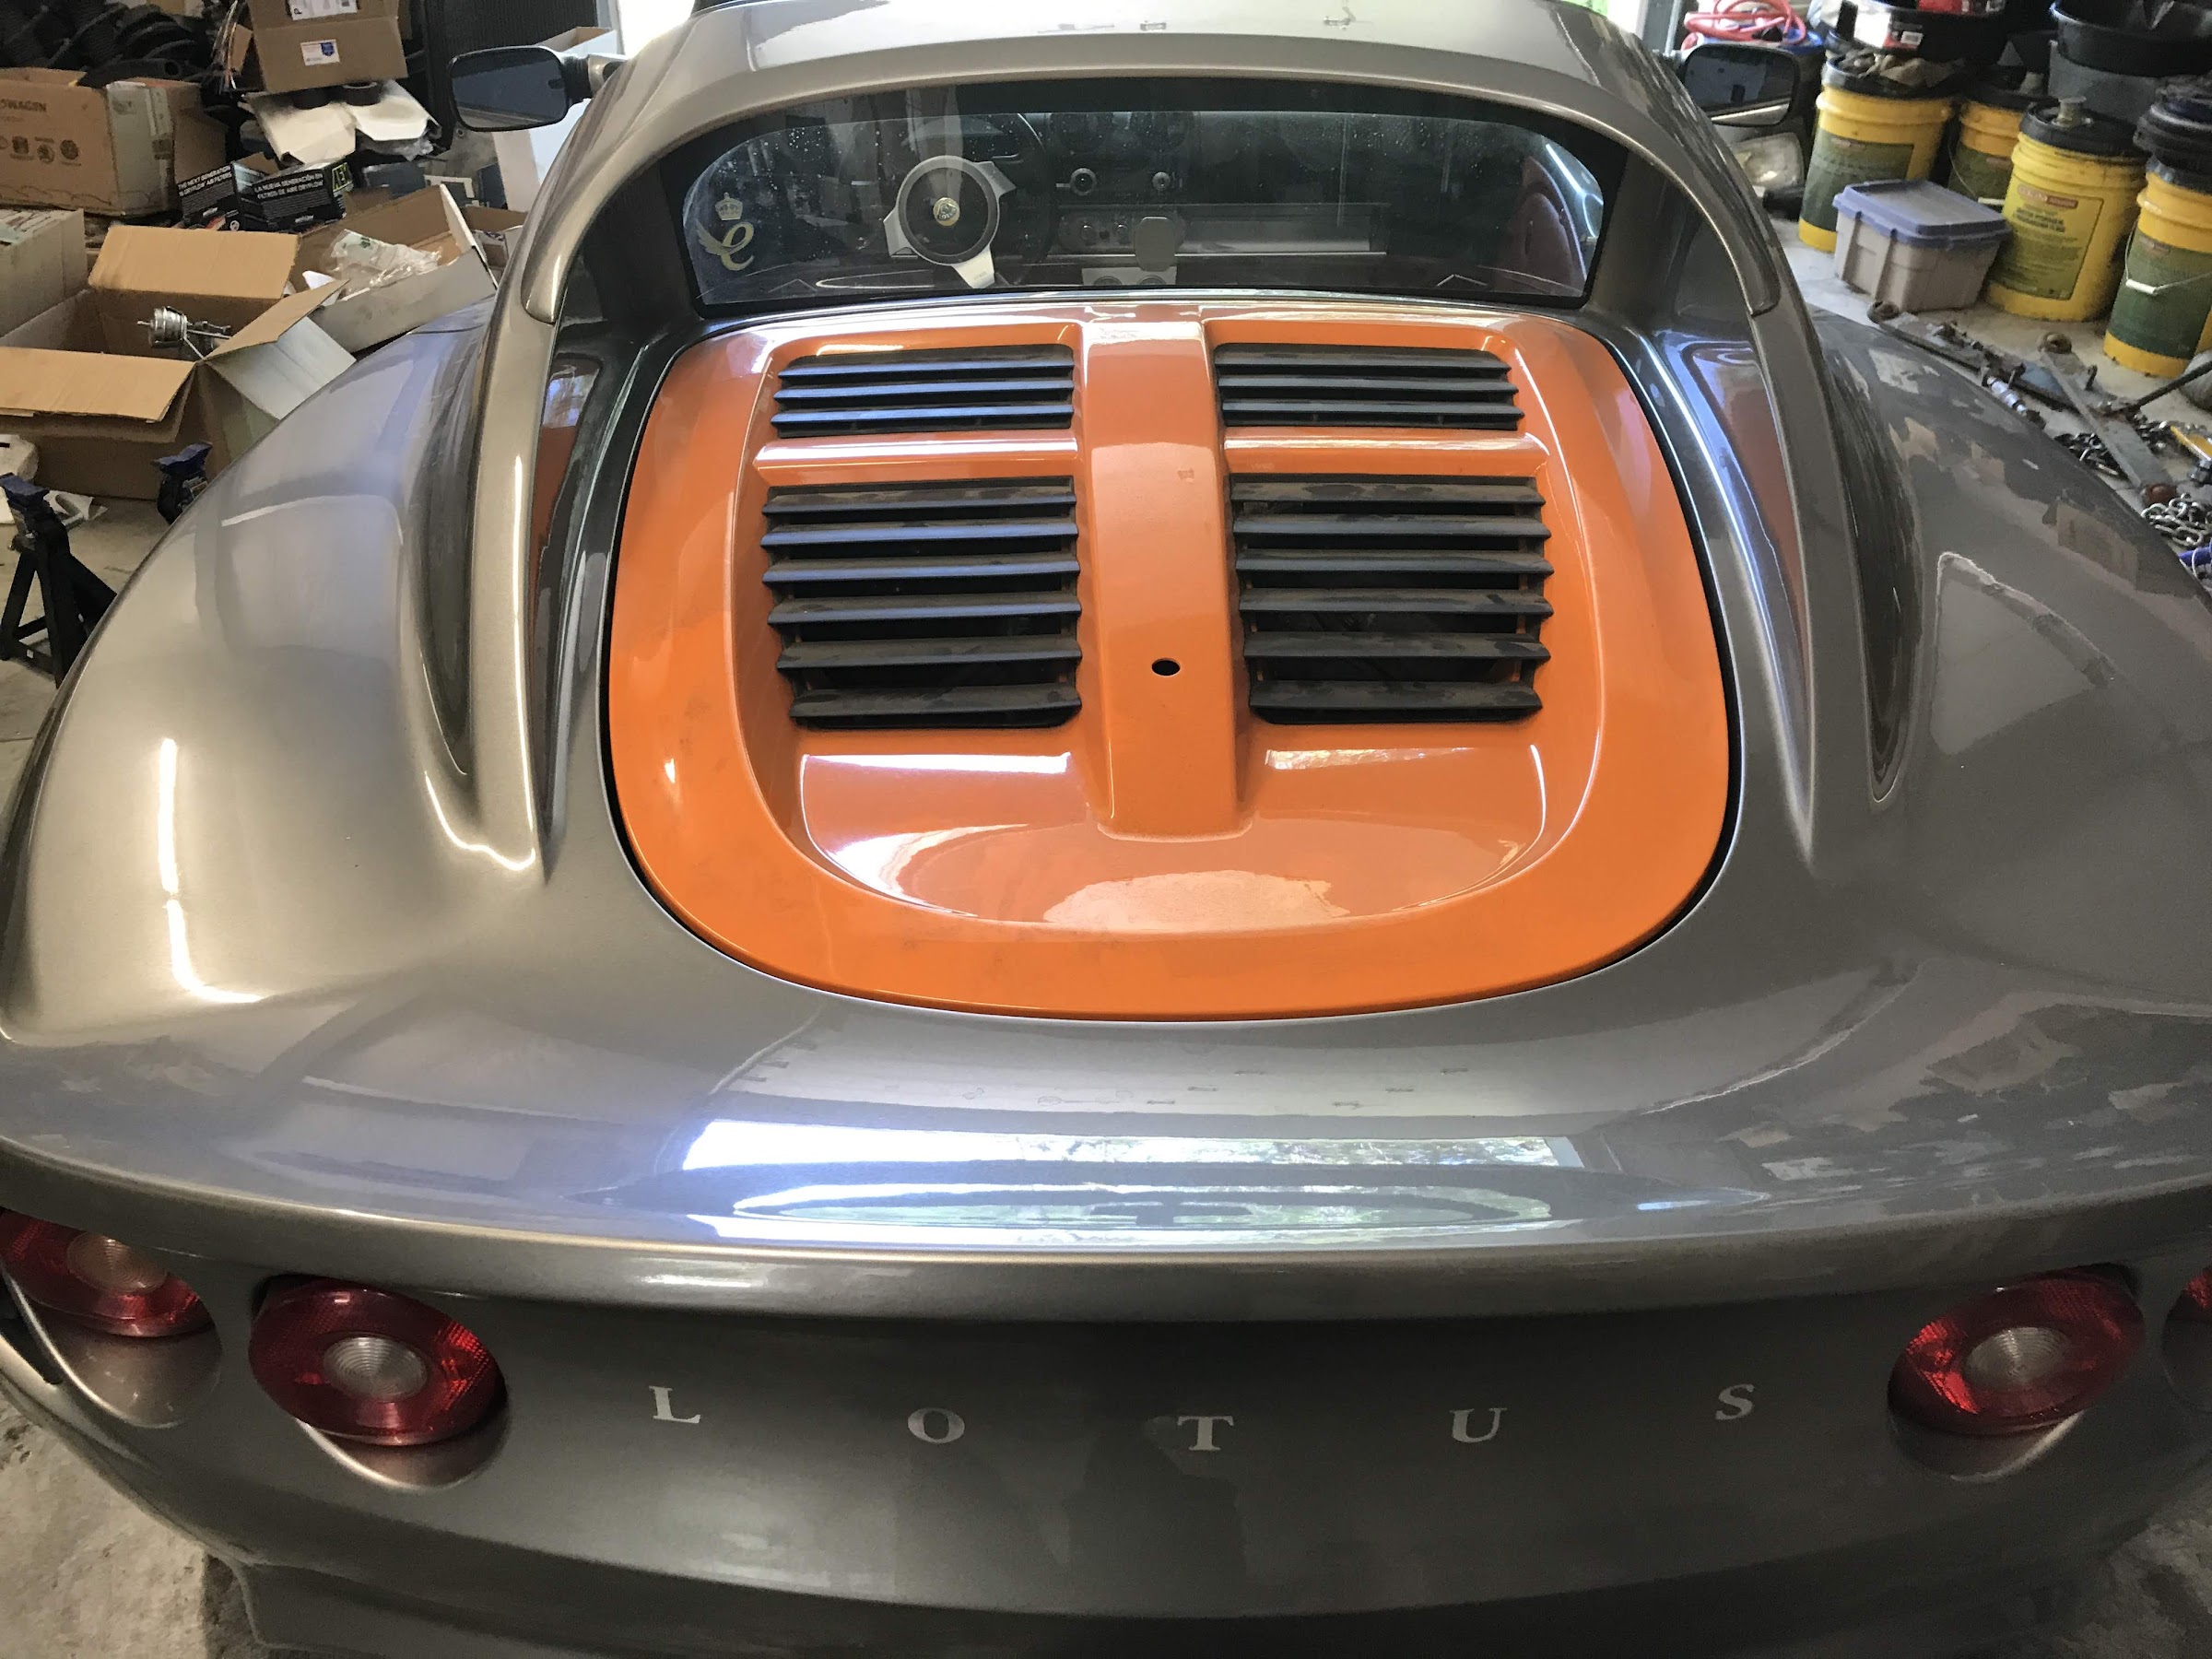
Quick test with the rear clamshell and the end result wasn't just a pipe dream anymore:
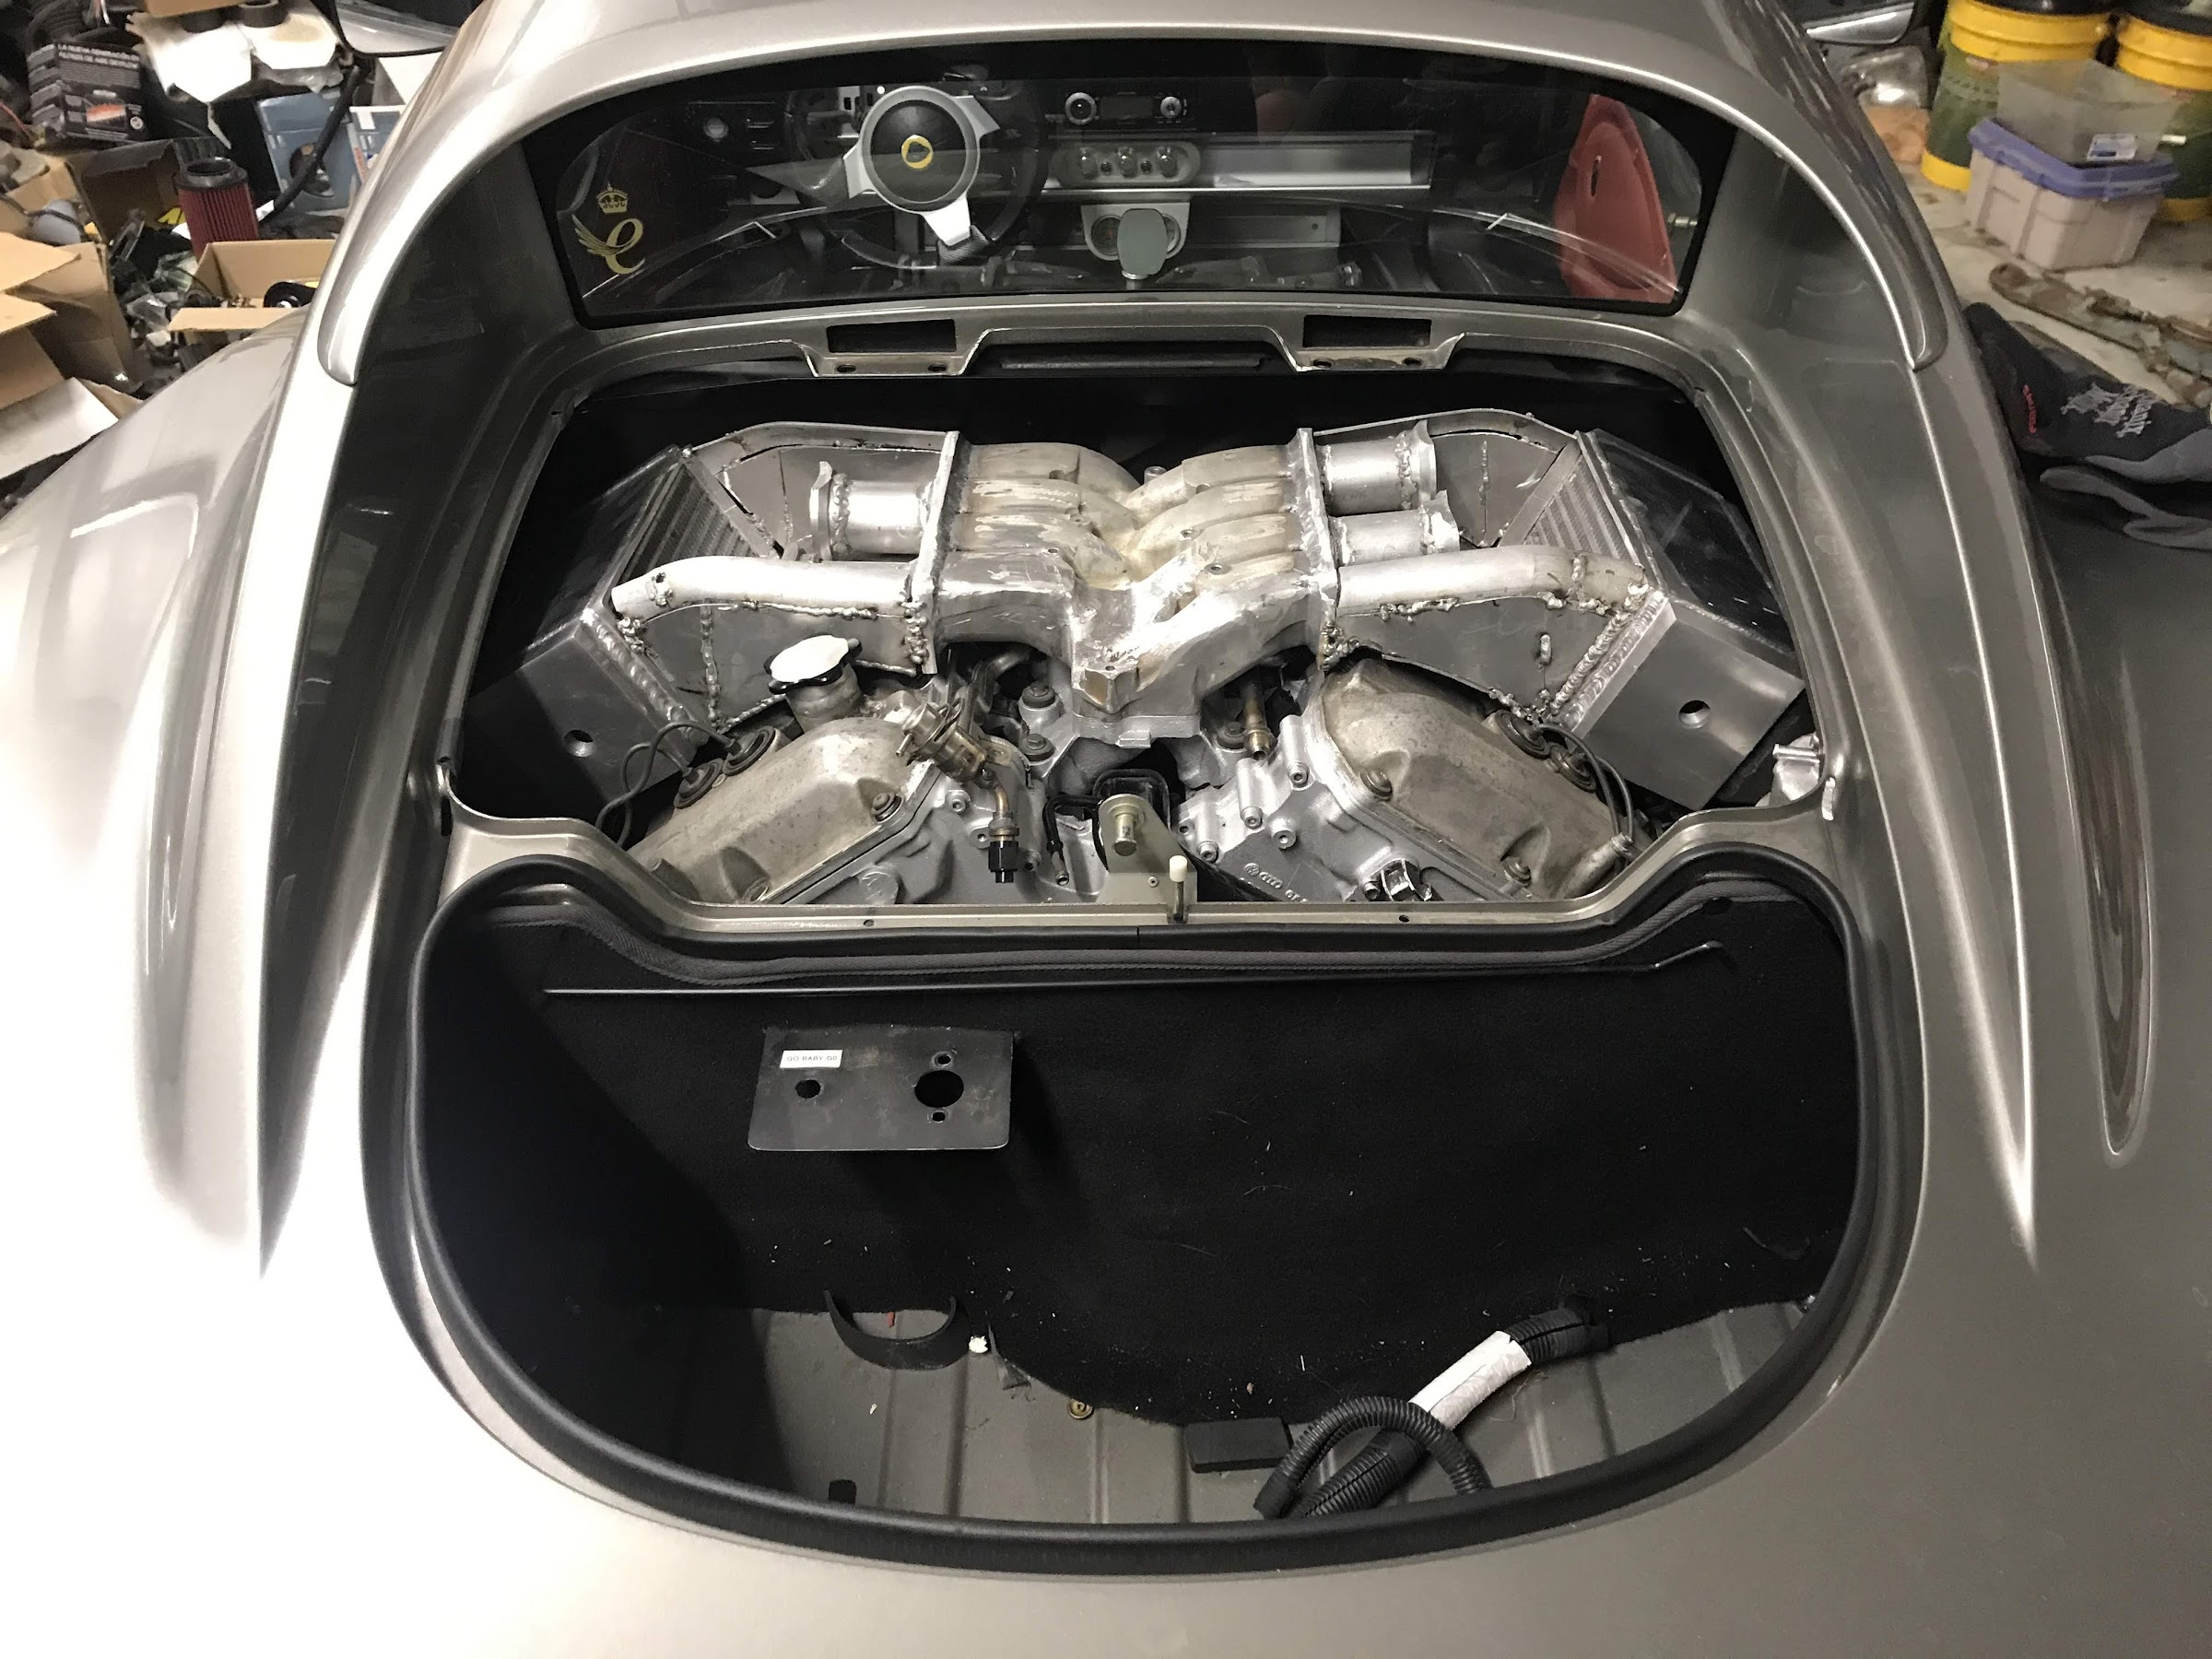
Some caps to the manifold haves and its almost final form is seen:
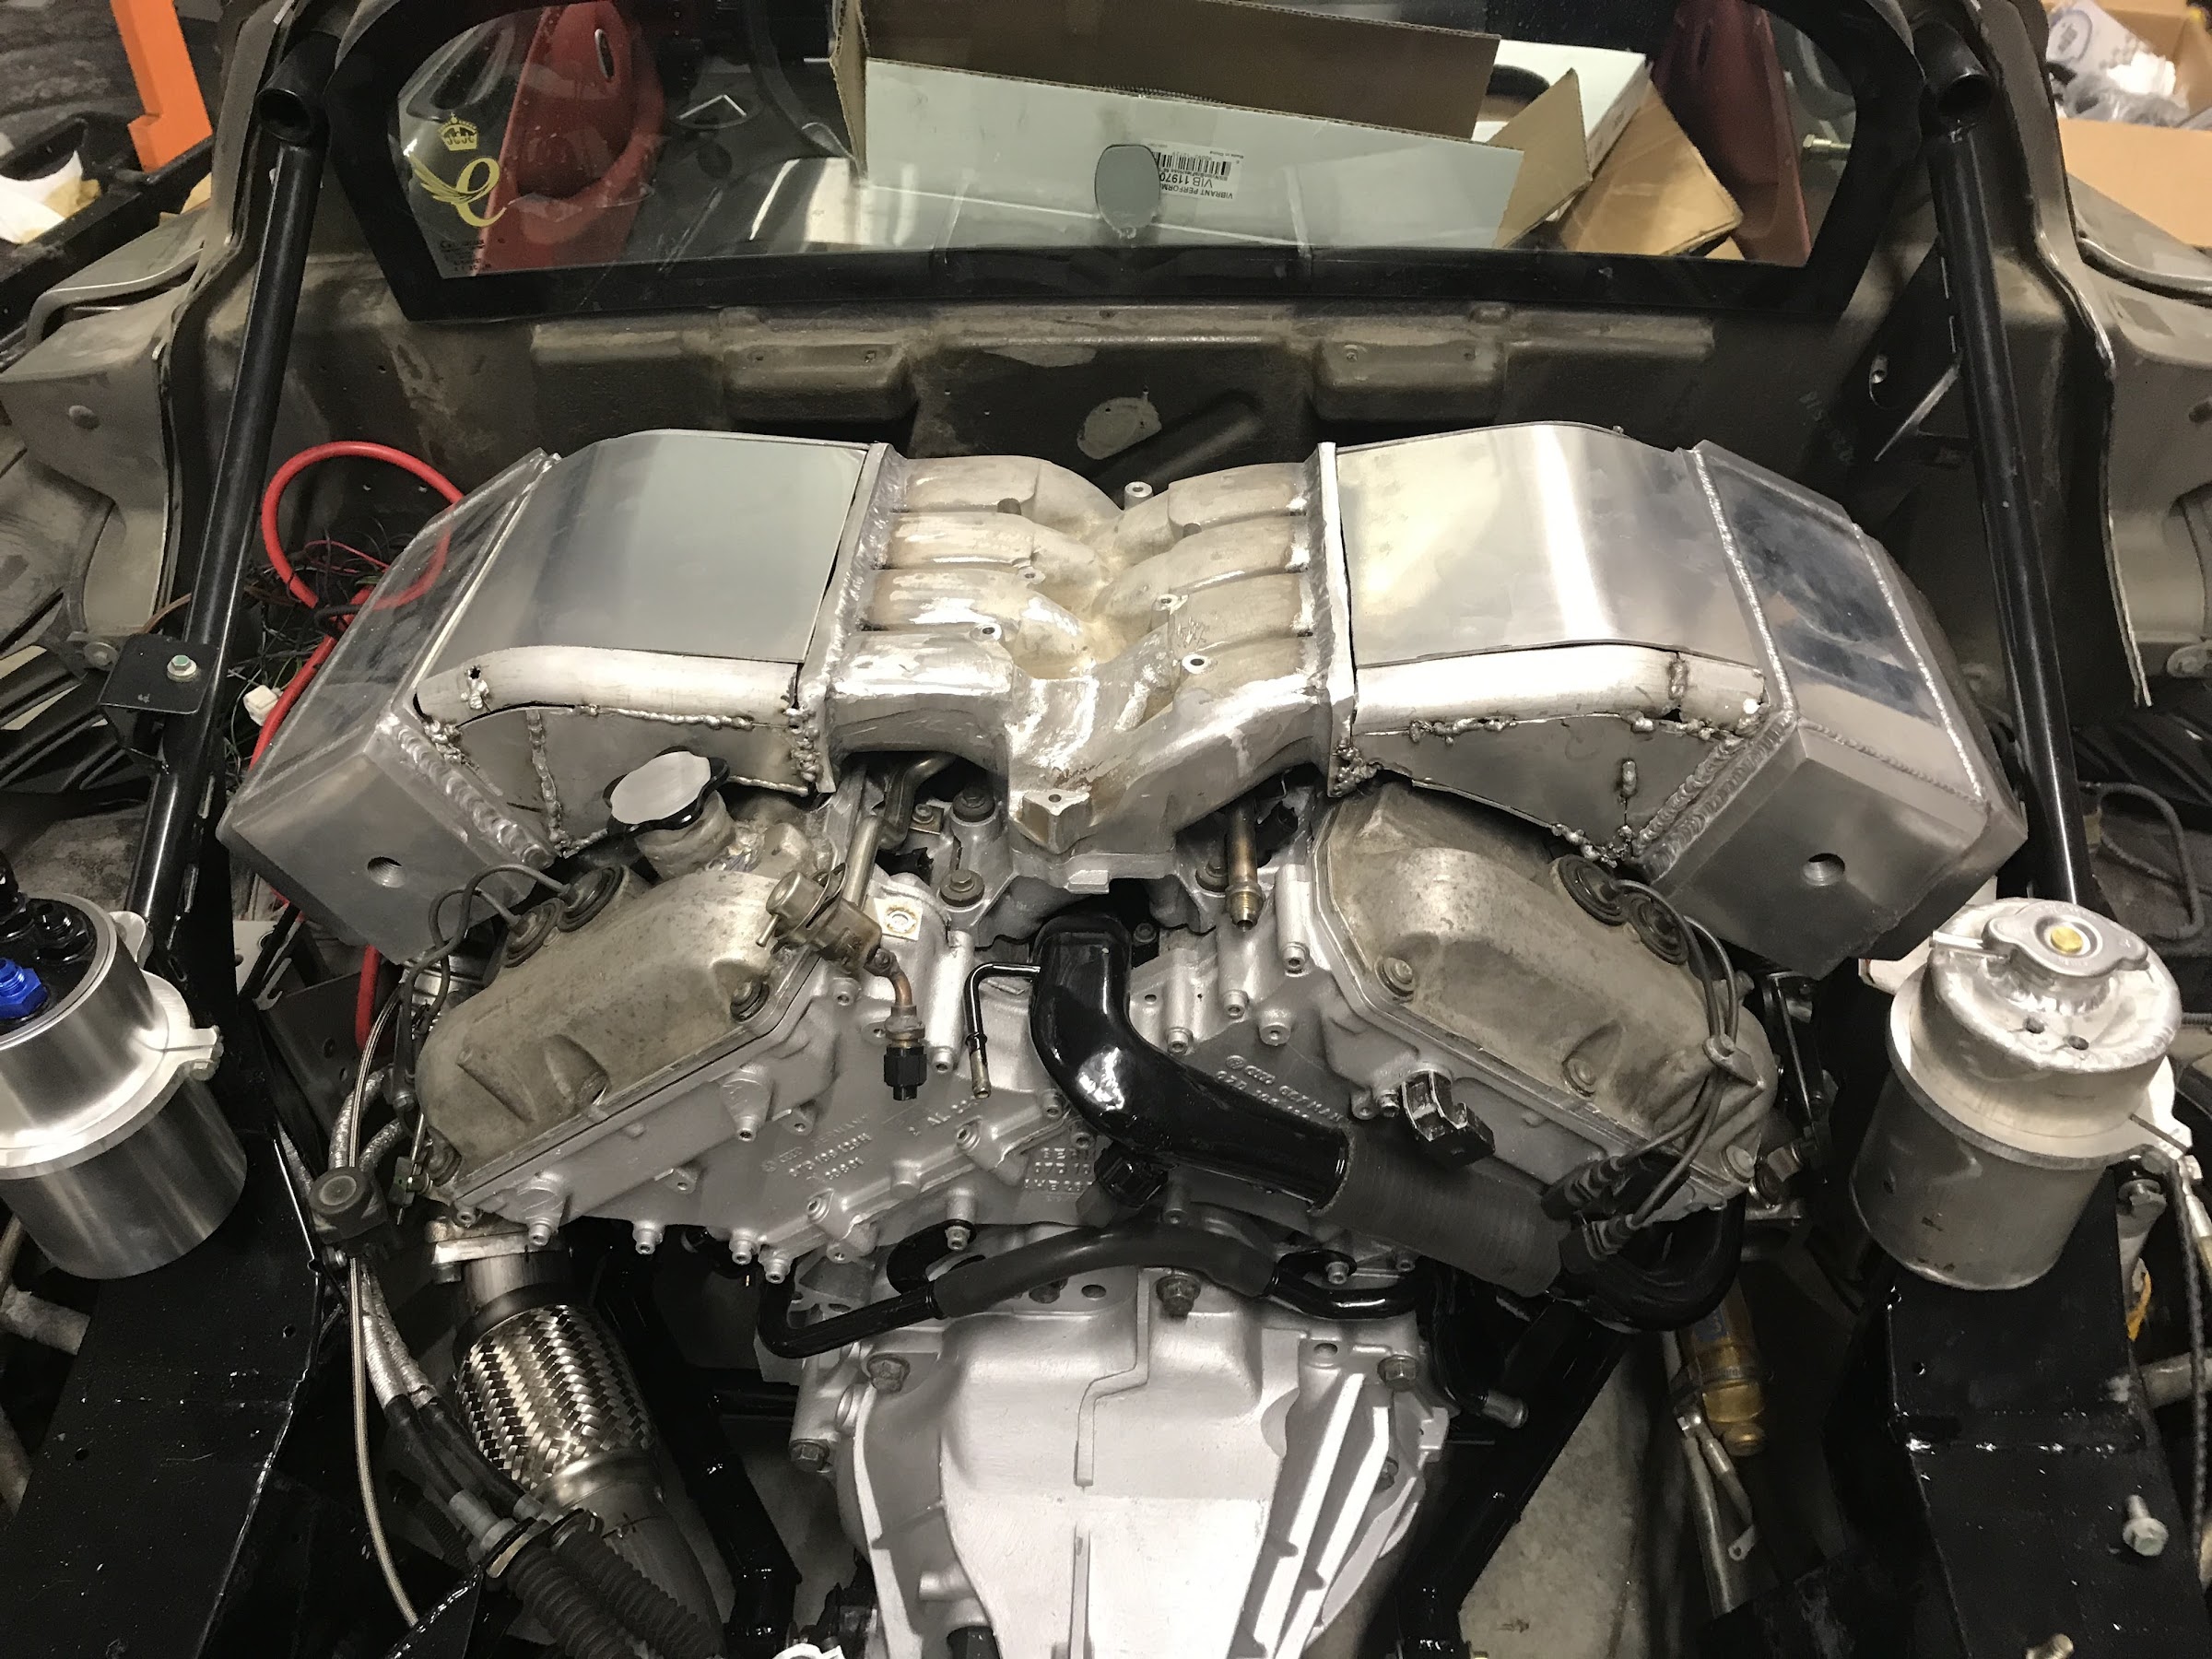
Now before you complain too much about my very bad aluminum MIG welding, its all just to hold things together to get the intake to the TIG welder to make it look good. And thats how we made it fit under the stock hood, there is still some more clearance work needing to be done for the decklid to fit perfect, but close enough for now.